
Installing A SCSI2SD In Your NeXTStation: A HOWTO Guide
Among my many other projects, I’ve been restoring a first generation 1990 25MHz NeXTStation (model number N1100). Unfortunately the original SCSI HDD was completely dead to the world, and I wanted to get this thing up and running quickly. I had a spare SCSI2SD lying around which I’d used with a few other systems so I decided to pop that in.
Physical Installation

To remove the original HDD bracket, remove the single screw holding it down through the motherboard, and then hinge it up and out. You can then remove the 4 screws underneath to extract the HDD and then re-fit the bracket. Then just use a couple of PCB risers to secure the SCSI2SD in place as pictured above, along with the original SCSI cable and power connector.
Configuring The SCSI2SD Device - Drive Setup
It seems NeXT machines are quite picky about hard drive geometry, so with some trial and error I finally managed to find a working config on the nextcomputers.org forums.
The trick is to save the following config to an xml file, or you can download it here. Using this XML will give a single partition of 2GB, which would’ve been almost inconceivably large by early 90s standard should therefore hopefully be more than enough for all your NeXT software!
1
2
3
4
5
6
7
8
9
10
11
12
13
14
15
16
17
18
19
20
21
22
23
24
25
26
27
28
29
30
31
32
33
34
35
36
37
38
39
40
41
42
43
44
45
46
47
48
49
50
51
52
53
54
55
56
57
58
59
60
61
62
63
64
65
66
67
68
69
70
71
72
73
74
75
76
77
78
79
80
81
82
83
84
85
86
<SCSI2SD>
    <BoardConfig>
        <unitAttention>false</unitAttention>
        <parity>false</parity>
        <!-- ********************************************************
        Only set to true when using with a fast SCSI2 host
         controller. This can cause problems with older/slower
         hardware.
        ********************************************************* -->
        <enableScsi2>true</enableScsi2>
        <!-- ********************************************************
        Setting to 'true' will result in increased performance at the
        cost of lower noise immunity.
        Only set to true when using short cables with only 1 or two
        devices. This should remain off when using external SCSI1 DB25
        cables.
        ********************************************************* -->
        <disableGlitchFilter>false</disableGlitchFilter>
        <enableCache>false</enableCache>
        <enableDisconnect>false</enableDisconnect>
        <!-- ********************************************************
        Respond to very short duration selection attempts. This supports
        non-standard hardware, but is generally safe to enable.
        Required for Philips P2000C.
        ********************************************************* -->
        <selLatch>false</selLatch>
        <!-- ********************************************************
        Convert luns to IDs. The unit must already be configured to respond
        on the ID. Allows dual drives to be accessed from a
        XEBEC S1410 SASI bridge.
        eg. Configured for dual drives as IDs 0 and 1, but the XEBEC will
        access the second disk as ID0, lun 1.
        See ttp://bitsavers.trailing-edge.com/pdf/xebec/104524C_S1410Man_Aug83.pdf
        ********************************************************* -->
        <mapLunsToIds>false</mapLunsToIds>
    </BoardConfig>
    <SCSITarget id="3">
        <enabled>true</enabled>
        <!-- ********************************************************
        Space separated list. Available options:
        apple      Returns Apple-specific mode pages
        ********************************************************* -->
        <quirks></quirks>
        <!-- ********************************************************
        0x0    Fixed hard drive.
        0x1    Removable drive.
        0x2    Optical drive  (ie. CD drive).
        0x3    1.44MB Floppy Drive.
        ********************************************************* -->
        <deviceType>0x0</deviceType>
        <!-- ********************************************************
        Device type modifier is usually 0x00. Only change this if your
        OS requires some special value.
        0x4C    Data General Micropolis disk
        ********************************************************* -->
        <deviceTypeModifier>0x0</deviceTypeModifier>
        <!-- ********************************************************
        SD card offset, as a sector number (always 512 bytes).
        ********************************************************* -->
        <sdSectorStart>0</sdSectorStart>
        <!-- ********************************************************
        Drive geometry settings.
        ********************************************************* -->
        <scsiSectors>4194303</scsiSectors>
        <bytesPerSector>512</bytesPerSector>
        <sectorsPerTrack>139</sectorsPerTrack>
        <headsPerCylinder>4</headsPerCylinder>
        <!-- ********************************************************
        Drive identification information. The SCSI2SD doesn't
        care what these are set to. Use these strings to trick a OS
        thinking a specific hard drive model is attached.
        ********************************************************* -->
        <!-- 8 character vendor string -->
        <!-- For Apple HD SC Setup/Drive Setup, use 'SEAGATE' -->
        <vendor>codesrc</vendor>
        <!-- 16 character produce identifier -->
        <!-- For Apple HD SC Setup/Drive Setup, use 'ST225N' -->
        <prodId>SCSI2SD</prodId>
        <!-- 4 character product revision number -->
        <!-- For Apple HD SC Setup/Drive Setup, use '1.0 ' -->
        <revision> 4.2</revision>
        <!-- 16 character serial number -->
        <serial>1234567812345678</serial>
    </SCSITarget>
    [...other targets omitted, are switched off...]
</SCSI2SD>
Then the xml config can be programmed into the SCSI2SD by plugging it in to a host computer using a Mini USB cable, running scsi2sd-util, and using the “Open File” and “Save To Device” options in the File menu.
Writing The Disk Image
Working NeXTStep HDD images can be downloaded from WinWorld. They come bundled with an emulator called Previous, but we’re only interested in the raw disk image included in the zip. While I was cautious at first, it seems they’re just a “vanilla” untouched installation which runs the first-boot setup wizard on boot, so no better or worse than installing from CD. In this case, I’m using version 3.3.
Of course, if you have the NeXTStep CDs, boot floppy and a SCSI CD drive, you can just install to the SCSI2SD that way. We’ve made it this far though so we may as well try with a working image to make sure the HDD is being recognised and working as expected.
To write the SD card we need to remove it from the SCSI2SD and insert it into a computer. The Procedure for macOS and Linux is the same, where we can use the built-in ‘dd’ command. In Windows, some kind of raw disk writing utility will do the trick - I recommend Win32DiskImager.
Note that we are writing low-level data to the card - if you’re dragging and dropping or copying files, you’re almost certainly doing it wrong.
Here’s the dd command I used:
1
sudo dd if=NS33_2GB.dd of=/dev/mmcblk0 conv=fdatasync
The conv=fdatasync flag just skips the disk buffer in Linux and writes to the device directly, ensuring everything gets written and skipping the lengthy wait when ejecting the SD card.
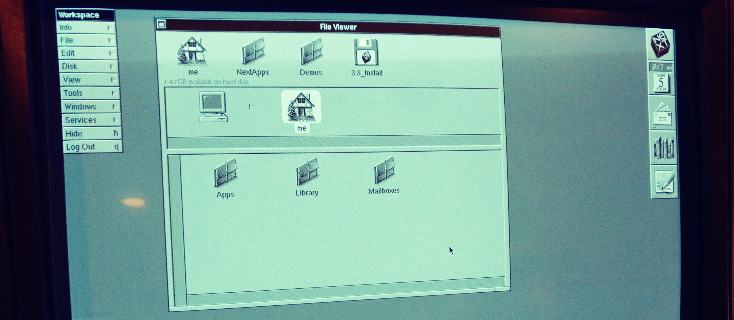
First Boot
If all of the above has gone to plan we should just fire up and go! Note that the NeXTStation may not recognise the HDD if the CMOS battery is dead - so definitely worth checking that if all else fails! It’s easy enough to make sure you’re getting 3V using a multimeter (anything above 2.8V should be fine).
(Yeah, my monitor geometry is a bit wack - more on tweaking these things in a future post!)
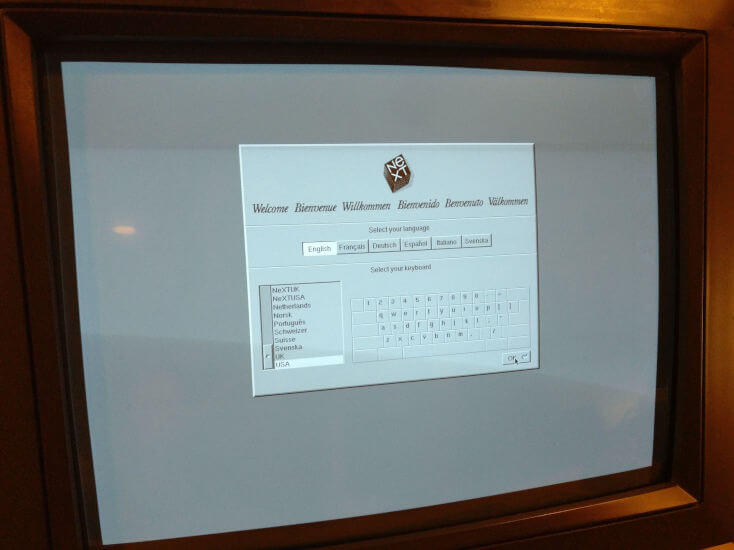
After 30 seconds or so of self-test in the NeXT ROM Monitor and the mach boot process, we should see the initial setup wizard pictured above - using the NeXTStep 3.3 image linked further up the page, at least.
If you liked this post please consider following me on Instagram or BlueSky!