
Repainting The Atari 2600 / VCS Orange Bezel
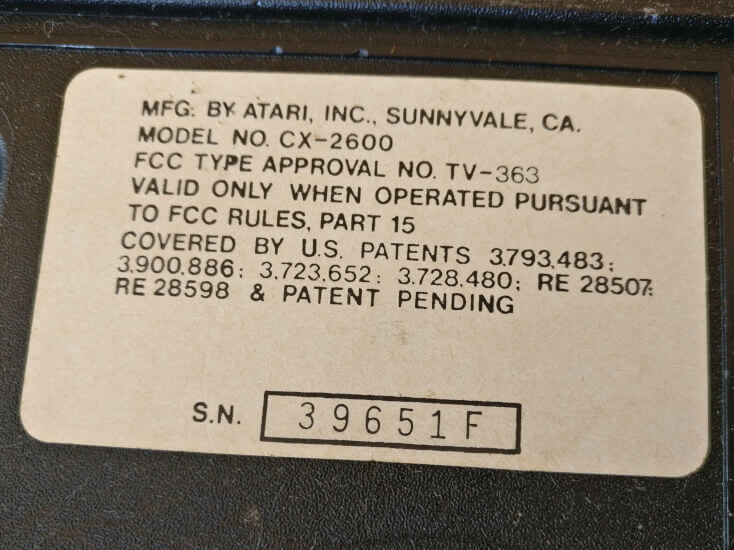
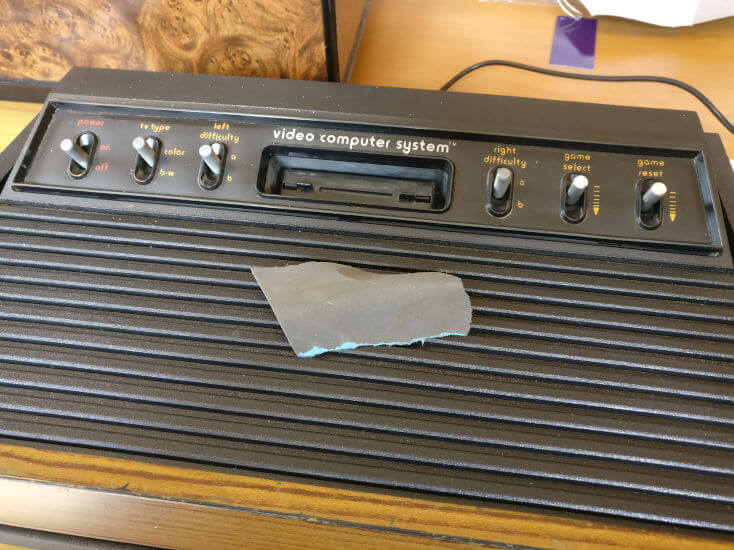
I’m the proud owner of an original 1977 Sunnyvale-manufactured Atari VCS “Heavy Sixer” console. These early consoles can be differentiated from later 2600 production runs by their 6 switches (later models had 4), the chunky, rounded case bottom, and most importantly, that “Mfg. By Atari Inc., Sunnyvale, CA” sticker. There’s a great 2600 identification guide here) if you’re looking for more info.
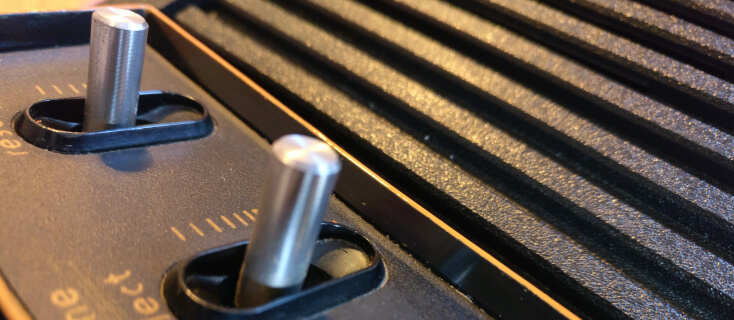
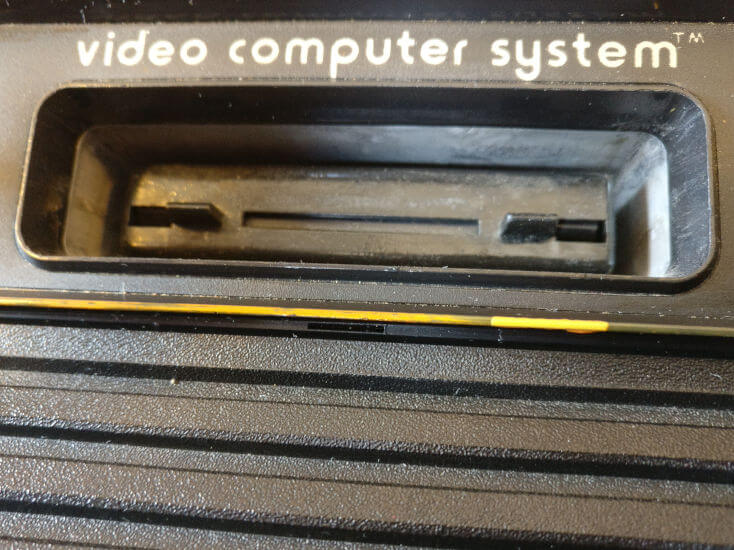
Of course, all of the original 2600 models, whether they be light or heavy, NTSC or PAL, have that iconic orange bezel - well, up to the all-black Vader models, anyway!
Mine had obviously been well loved in its 40 years on this earth and was a bit worse for wear, and while I generally like to keep things looking original the orange bezel around those 6 iconic toggle switches was just a bit too far gone and really wasn’t doing justice to this historic machine.
If you Google “Atari 2600 Bezel Paint” you’ll find a lot of good suggestions including some off-the-shelf paint pens. But the reality is that if you put a few 2600 consoles together you’ll see that the paint colour isn’t really all that consistent. Especially with the early units, these were pretty much hand built. The cases were also supplied by a few different suppliers in order to meet early demand. The only real consensus among the Atari community seems to be that the shade of orange that Atari used generally got darker as the years progressed.
As you can see, that glorious orange bezel was a shadow of its former self. After investigating a few different options I settled on Humbrol enamel paint. These small 14ml pots of paint are used by the model railway and tabletop gaming communities. I ordered a few shades of yellow and orange but none were an exact match so I decided to mix my own. The colours I decided to use were No. 18 Orange Gloss and No. 7 Buff Gloss.
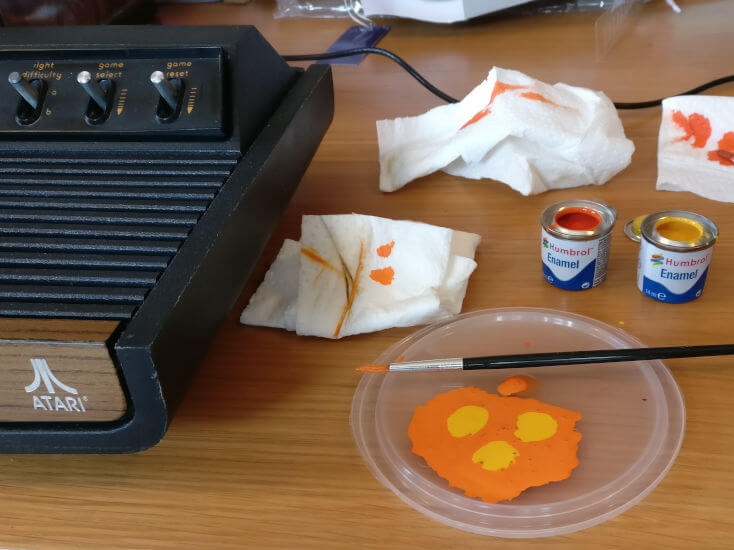
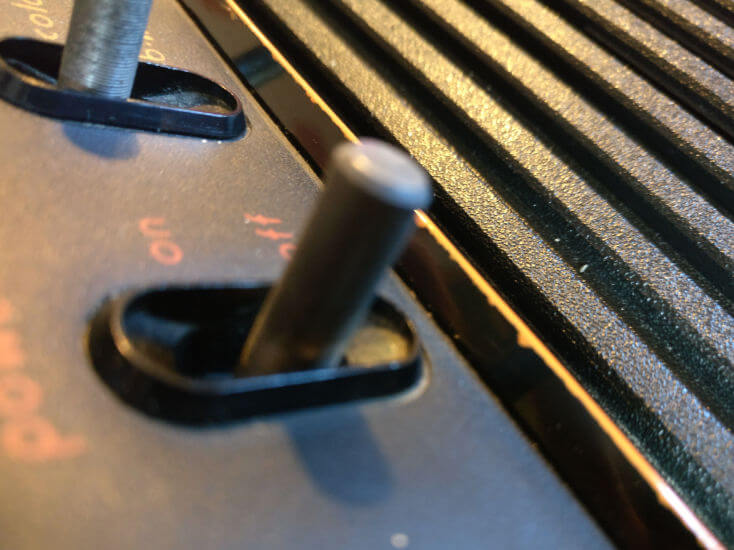
I painted a small test patch next to the remnants of the original paint. The match in the picture below doesn’t look 100% which is partially due to the paint still being wet - once it had dried the difference was pretty much inperceptible.
Once I was happy with the paint I very gently rubbed the front face of the bezel down with a piece of emery paper. This is a type of very fine sandpaper used for paint preparation which gently removes the old paint and prepares the surface to accept the new paint:
After applying the paint with a fine brush, there were a lot of small runs and areas where the paint had run into the dents in the bezel:
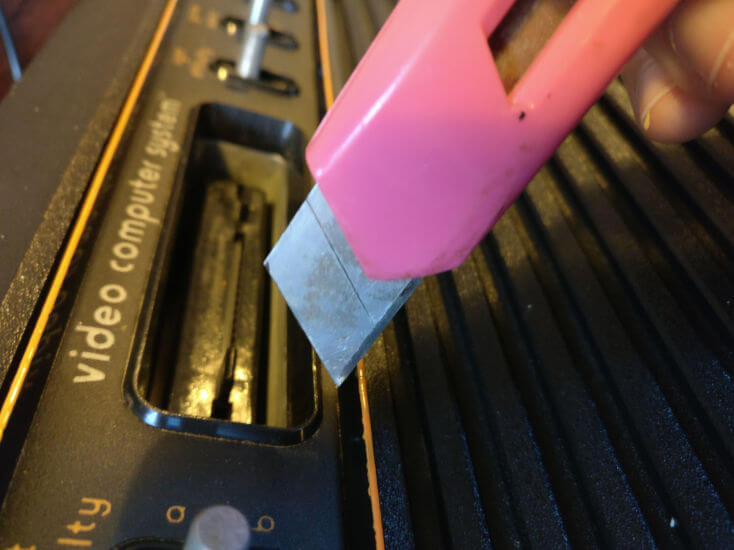
I carefully ran a sharp knife around the outside of the bezel to restore the sharp edge. Note that I’m scraping the knife sideways along the edge here, not cutting into the bezel:
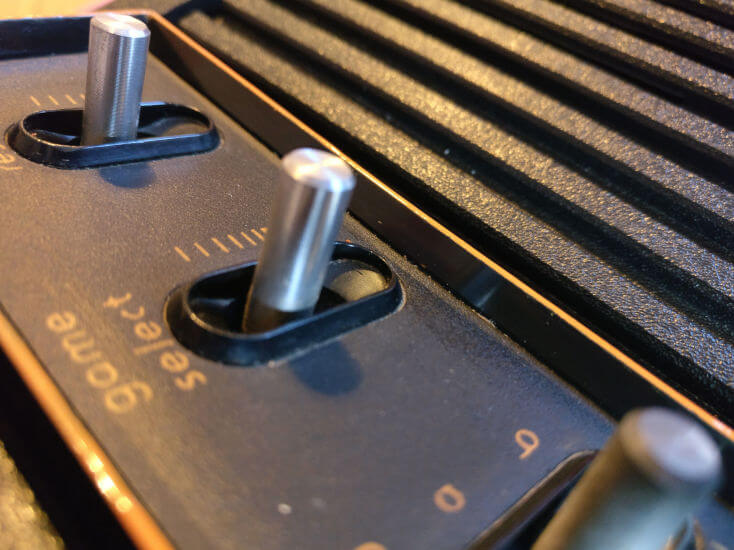
Close up of the finished result of this process:
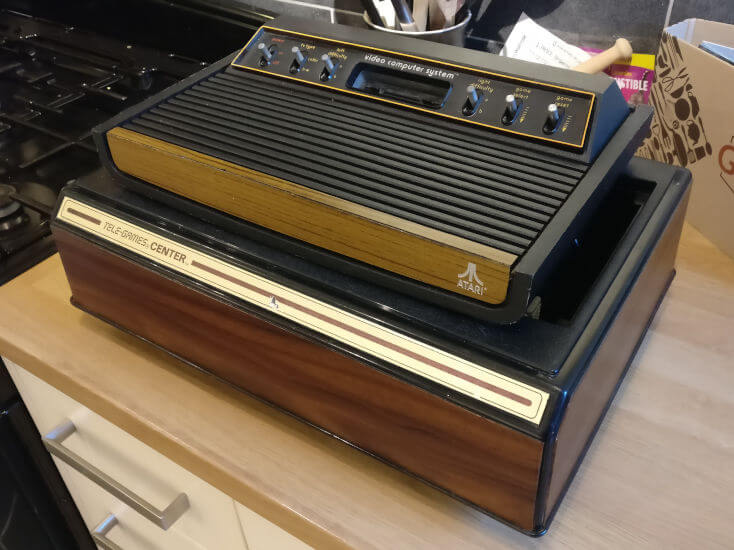
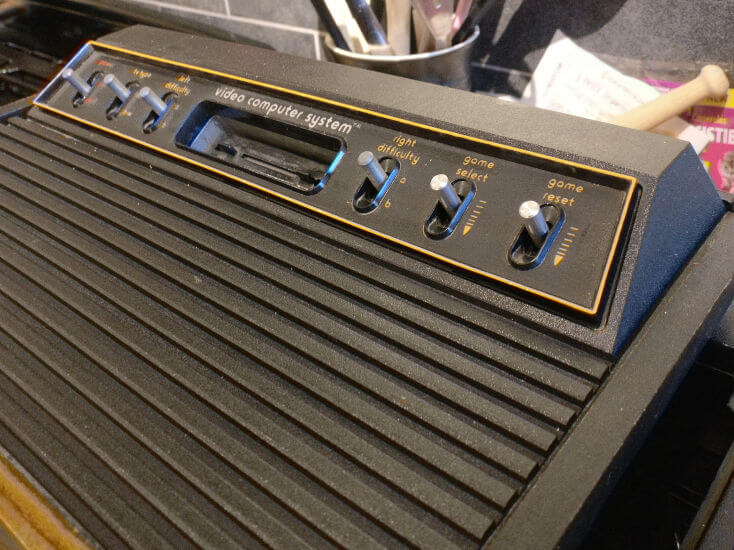
Finally, here are a couple of pictures of the finished product. The finish is perhaps a bit shinier than it would have been originally, although without a perfectly preserved 1977 example to compare with I guess I’ll never know. The colour match is certanly good with the vibrant orange matching the text on the switches, the highlights on the joysticks and the image on the original box (which I also have) very well.
Close-up image of the painted bezel:
I’d never done this kind of fine painting before so I was very pleased with the result. I’ll be posting some more about this console in due course as it’s one of my personal favourites and has had some more cosmetic and internal restoration work done since these photos were taken. Stay tuned!
If you liked this post please consider following me on Instagram or BlueSky!