
Modifying The Atari 7800 Control Pad For Use With The Atari ST (And Older Systems Too!)
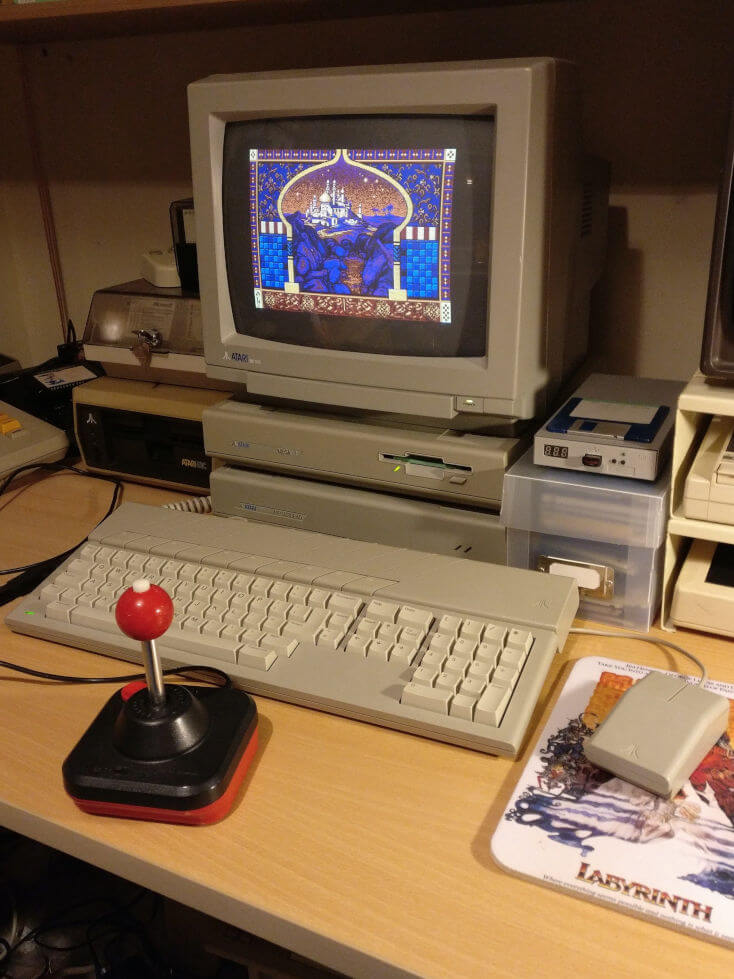
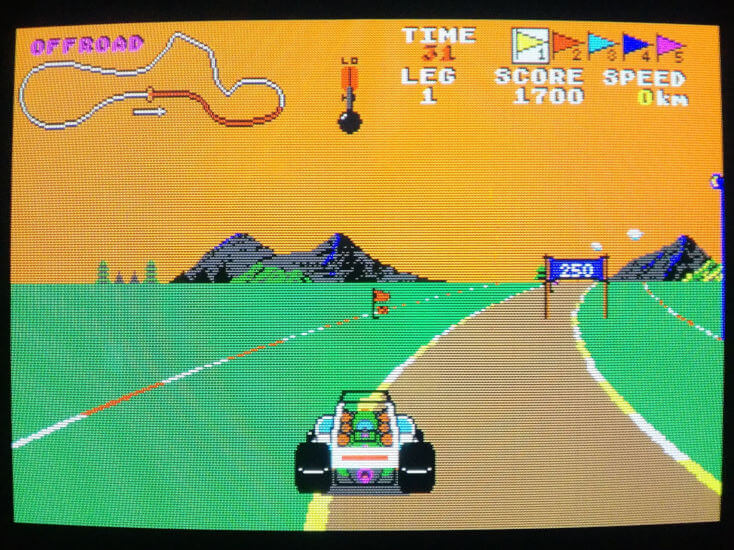
I enjoy a classic platformer from time to time, including the excellent Atari ST port of Prince of Persia. I also like racing games - OK, it’s a pretty simplistic game, but Buggy Boy was a childhood favourite, as were Lombard RAC Rally and Lotus Esprit Turbo Challenge.
However, in the years since my childhood I’ve drifted away from the good old joystick (well, apart from arcade games) and gravitated towards the gamepad. Atari eventually did too with the Atari 7800 and then the Jaguar, following in the footsteps of the Japense consoles likes the NES and Master System.
Attempting to play some of those classic games today - pushing the joystick up while running for a perfectly timed jump, or holding it up continuously to keep the accelerator floored - leaves a lot to be desired. Surely they’d work much better on a gamepad!?
So I bought an Atari 7800 gamepad on ebay. It uses the 9-pin joystick connector, it’s made by Atari, it should “just work”, right?
Wrong. Not only does it not work, the ST won’t even boot up with it connected!
You see, the original Atari 9-pin joystick connector only supported one button. But it also supported “paddle controllers” - or a pair of arcade-style potentiometers as used in games like Breakout. When it came time for Atari’s engineers to design the 7800 pad they decided to hijack the paddle inputs to use for the buttons, for some reason known only to them. The 7800 didn’t support paddles anyway.
Unfortunately this wiring confuses the Atari ST’s keyboard controller chip, causing the boot error.

Anyway, astute readers will probably have predicted my next step - I hatched a plan to modify the gamepad’s internal wiring. As it happened it was a pretty simple 5 minute job with a soldering iron. Here are the relevant pinouts:
| Pin | 7800 Function | ST Function | Wire Colour |
|---|---|---|---|
| 1 | Up | Up | White |
| 2 | Down | Down | Blue |
| 3 | Left | Left | Green |
| 4 | Right | Right | Brown |
| 5 | Button 2 GND | N/C | Red |
| 6 | Buttons +5V | Button | Orange |
| 7 | N/C | N/C | N/C |
| 8 | GND | GND | Black |
| 9 | Button 1 GND | N/C | Yellow |
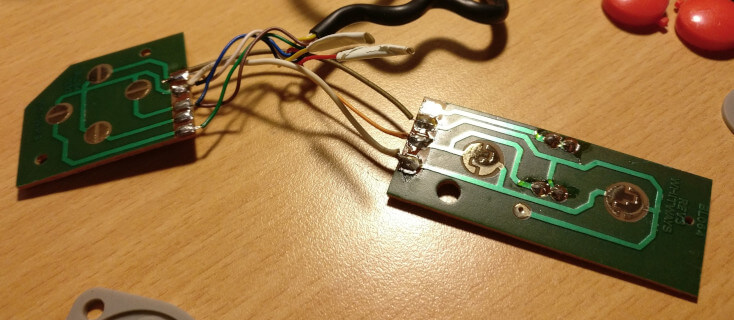
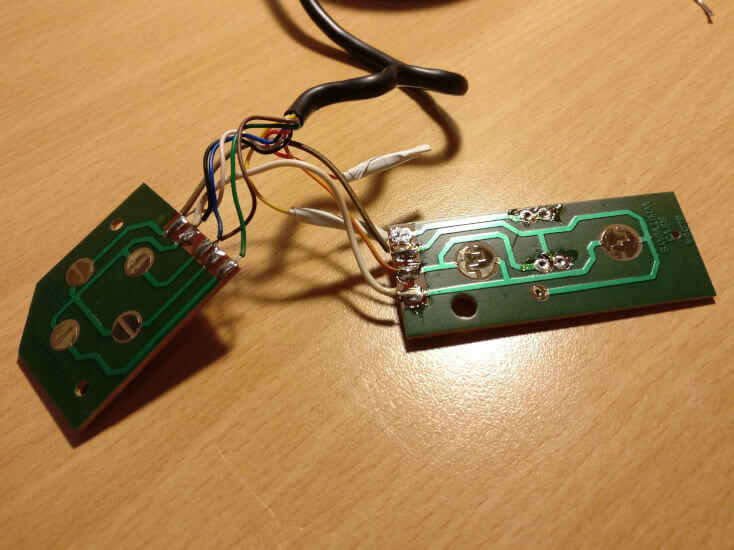
I followed the traces on the board with the 2 button pads, disconnecting the original red and yellow wires for the buttons. I taped off the ends and tucked them out of the way should I want to reverse this mod in the future.
I also had to decide what to do with the second button - as the ST only supports one button joysticks - so I added an extra wire to bridge it to the “UP” wire. This means that we now have a dedicated accelerator button for those racing games or a jump button for platformers!
Finally, I moved the ground wire to the common ground between the two buttons and removed the resistors.
Pictures tell a thousand words, so here’s the before:
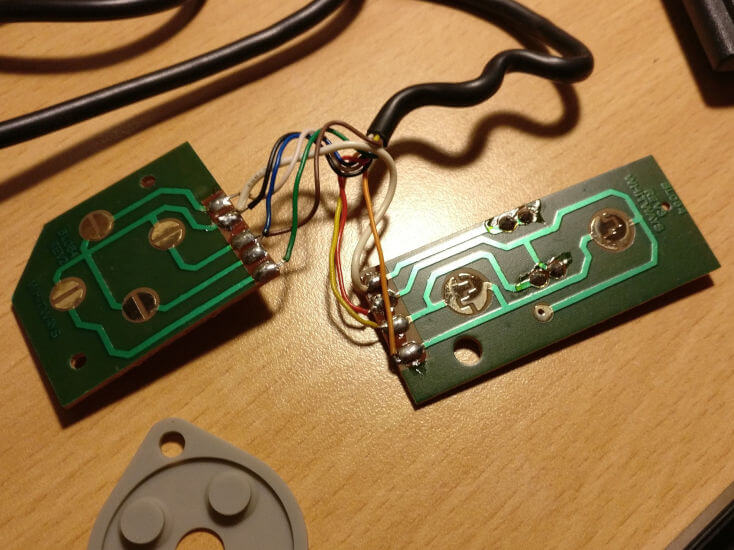
…and after:
Or if you’d prefer this as a table:
| Direction Board Pin | Wire Colour | Button Board Pin | Wire Colour |
|---|---|---|---|
| 1 | White & To Pin 2 On BB | 1 | N/C |
| 2 | Black & To Pin 4 On BB | 2 | To Pin 1 On DB |
| 3 | Brown | 3 | Orange |
| 4 | Blue | 4 | To Pin 2 On DB |
| 5 | Green | N/A | N/A |
Remember to remove the resistors or they’ll create a short between both buttons meaning they’ll both be activated no matter which one is pressed!
All in all, a great little mod that really enhances enjoyment of these classic games and saves a lot of hand ache. If I owned a 7800 and wanted to swap the pad between the two machines this could easily be built into an external converter box with a couple of male DB9 connectors and some wires - perhaps a project for the future.
If you liked this post please consider following me on Instagram or BlueSky!